iOS 17 Failed Verification? Apply these 8 working solutions
Sometimes, Apple's servers can be overwhelmed during the initial release. Wait a few hours or even a day and try again.

Did you experience Error While Downloading the Latest iOS 17 update? Unable to Verify the iOS 17 Update or is just your iPhone stuck on verifying update? It’s a very common issue that could be fixed with a few simple workarounds. So what cause iOS 17 verification failed? It could be a problem with the internet connection, a Security issue, you run out of storage space, and more. Here is what to do when you encounter error iOS 17 failed verification because you are no longer connected to the internet.
How to fix iOS 17 Failed Verification?
Before go ahead or install the latest iOS 17 update make sure your iPhone is running on full battery.
Make sure you have connected to a stable and working internet connection (If you have a cellular data plan we recommend connecting to a WiFi network and try update iOS 17)
Try to turn on and off the Airplane mode on your device. This solution mostly fixes this “unable to verify the update iOS 17” problem.
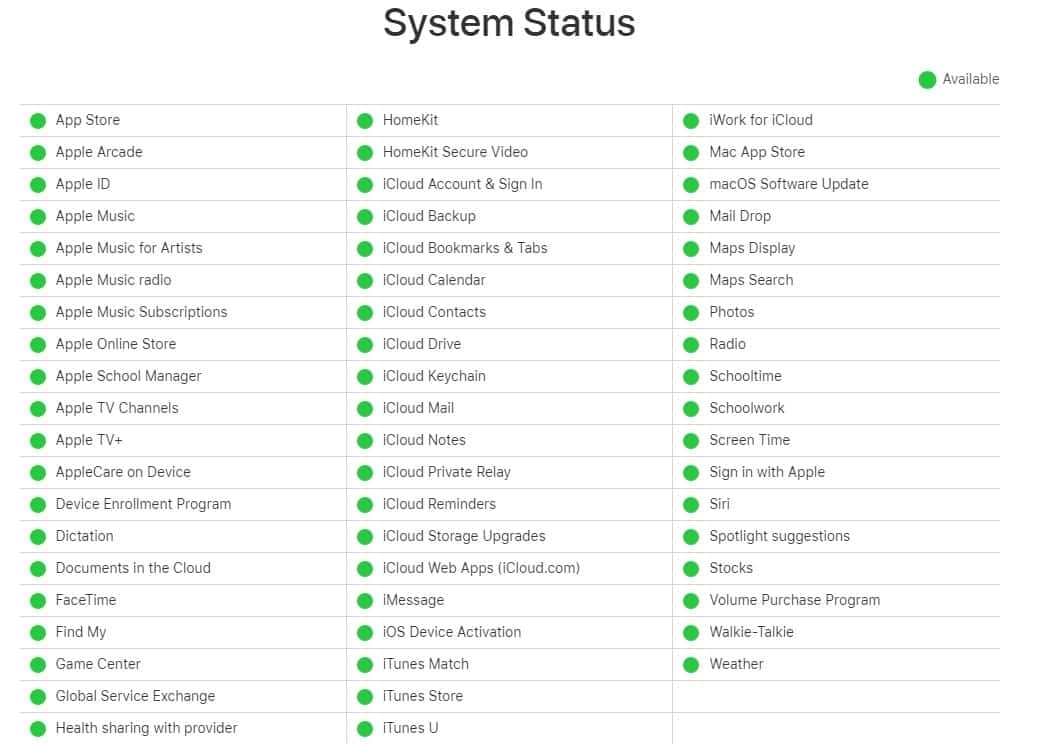
Check the Apple server status
Yet another common issue is that Apple has some form of breakdown on their end. Let’s check the Apple server status.
- Simply run a web search for “Apple Server Status“
- You can quickly find out via the official Apple website whether or not they are going to be available.
- If the problem is on the Apple server end, you simply have to wait until they solve the issue for you.

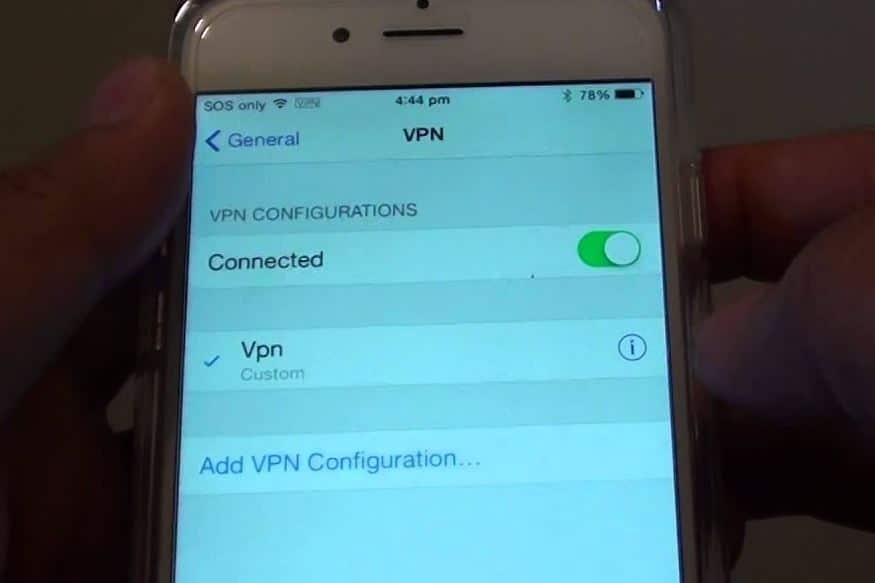
Disable VPN
Are you trying to install iOS 17 updates on a VPN? Try turning off your VPN and/or your proxy server. Because with VPN enabled, your iPhone will not be able to establish a connection with the Apple servers preventing it from downloading the iOS 17 update

Check WiFi Connectivity
iOS 17 and Public Beta 2 range from around 3 GB to 5GB in size respectively, so before starting to download the update it’s important to have a solid internet connection readily available. To make sure you have connected to the internet on your iPhone, go to Settings, then Wi-Fi and ensure that it’s connected properly. Also, double-check your router and try rebooting it before starting the update again.
Restarting iPhone Can Fix the iOS 17 Failed Verification Issue
Yes, you Heard Right! Turning your iPhone off and on again could really fix this issue. Restarting the device dumps all temporary files, clears temporary glitches and background apps and gives your iPhone a fresh start. Here’s how,
- Simply Hold down the power button for iPhone 8 and earlier. If you have an iPhone X or later, hold down the volume or side button.
- Hold until the Slide to Power Off prompt appears.
- Follow the instructions given on the screen to turn off your device.
- After your iPhone is shut down, restart it by holding the power or side button for a while.
Lack Of Storage Space
As we have mentioned early, the iOS 17 update has a large file. Specifically, it is around 3.2GB in size. that’s why we need more free storage space to install iOS 17 updates without any error. So make sure are you are not struggling with storage space and have enough storage available in stock.
How Can I Make Extra Space For The Update,
- Try Deleting unusual videos, unused files, and old messages,
- Turn off Photo Stream,
- Clearing your ‘Other’ storage.
- Try to remove unnecessary or unused apps, data and games.
By doing so iOS 17 Failed Verification Issue can be easily solved.
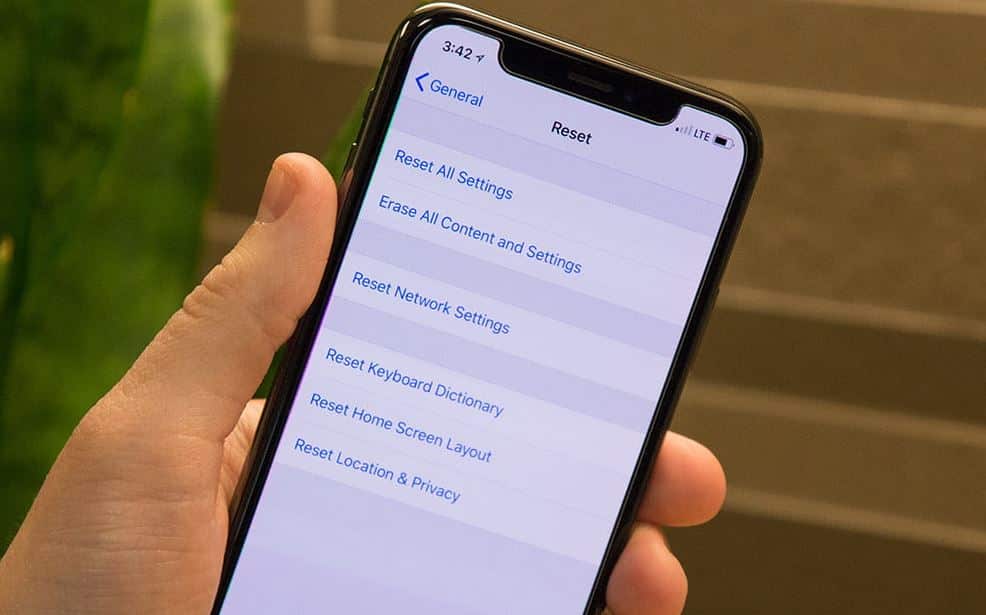
Reset Network Settings
Your WiFi is properly connected and it has an active internet flow but still, you are unable to update your iPhone to iOS 17. Try resetting network settings to get rid of the iOS 17 Failed Verification Issue,
- Open Settings On Your iPhone
- Now, tap on General.
- Then, click the Reset button at the bottom of the screen.
- Finally, select Reset Network Settings

This will reset all the network settings bringing it to the default state, which might fix the network issues causing failed verification errors while downloading iOS 17.
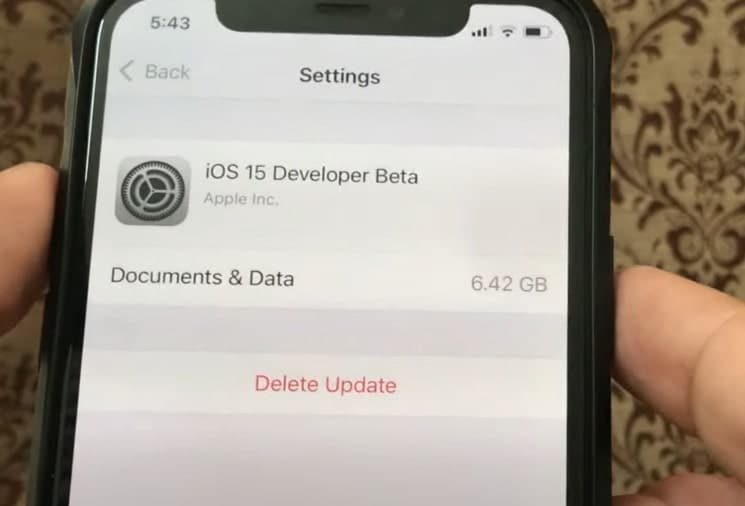
Delete The Downloaded Update And Try Again
Still, your device is unable to verify the iOS 17 update and your iPhone is stuck on verifying update? deleting and downloading the update again is probably a good solution for you.
- Open Settings on your device
- Tap on General then Storage,
- Now you are able to see the iOS 17 update under the list of apps.
- Click the iOS update and choose Delete Update.

- Download the iOS 17 update again by going back to Settings>General.
- From there, select Software Update and download the latest update.
Update Your iPhone To iOS 17 using iTunes
After all the solutions if you are still struggling to update iOS 17 on your iPhone and still face Failed Verification Error, then plugging into a PC/Mac and updating via iTunes or Finder would be the ideal step. Here’s how,
- Firstly, make sure your computer has an active internet connection and then Open iTunes on it.
- Now, connect your iPhone to your Mac or Windows PC via USB cable.
- Once connected, look for an iPhone icon in the left sidebar below Devices.
- Now, click on the Summary tab and select Check for Update.
- When the dialog box appears showing there is an update available, Tap On Next and Agree.
- The PC should then be able to identify the updated package and start downloading it on your iPhone Immediately.
We hope the above fixes helped you solve the iOS 17 Failed Verification Issue error and you are now able to update your iPhone to iOS 15. Feel free to contact us for any queries.
