
Lost Network and internet conation after windows 10 update? Network icon on the system tray displays a yellow exclamation mark saying “Unidentified Network” and run the diagnosis results “Ethernet doesn’t have a valid IP configuration. This problem Unidentified Network or Ethernet doesn’t have a valid IP configuration mostly occurs when your windows pc fails to get a valid IP address from your DHCP server. It’s because of a problem with network adapter driver, Incorrect network configuration or faulty NIC (Network Interface Card).
Ethernet doesn’t have a valid IP configuration
If you’re also facing this issue “Ethernet doesn’t have a valid IP configuration after run Windows troubleshooter, don’t worry. Here are four effective solutions you can try to fix this issue.
Before go ahead restart all network devices (Router, switch, modem etc) include your PC. This will fix the problem if any temporary glitch causes the issue.
Temporarily Disable Antivirus software, and VPN connection (if configured)
Also, check and make sure DHCP client service is running state,
- Press Windows + R, type servies.msc and ok
- Look for a service named, DHCP client
- If its running state, right-click and select restart,
- If the service not started, then double-click on it, and change the startup type automatic.
- Restart windows and check if this helps.
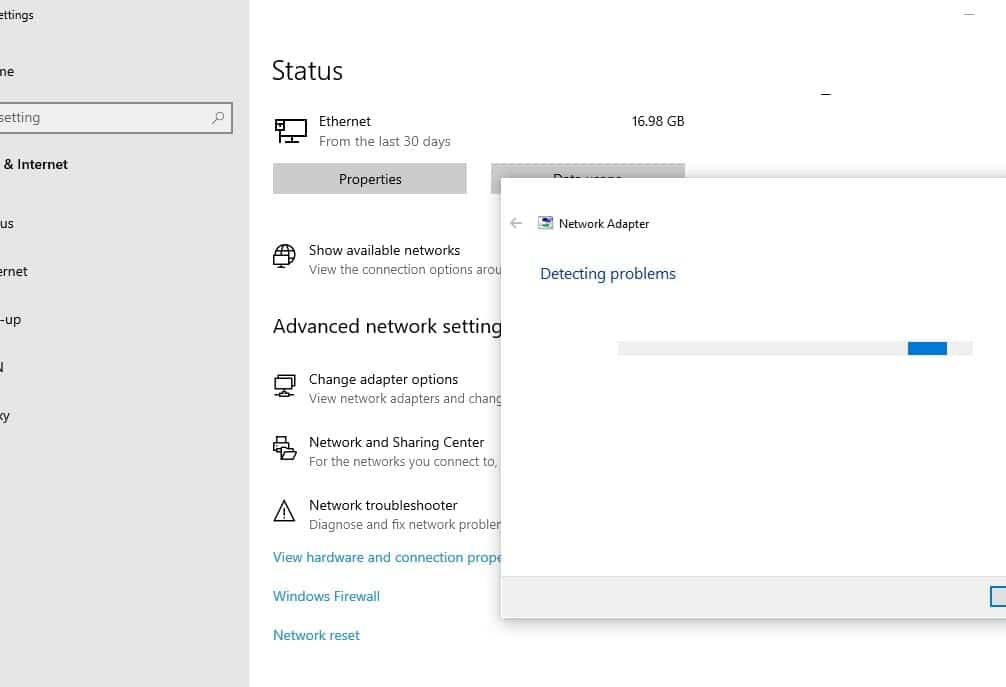
Run network troubleshooter
Windows 10 built troubleshoot contains several troubleshooting programs that can automatically fix some common problems with your computer, such as problems with networking, hardware and devices, using the web and program compatibility. Let’s run the Windows in-built network troubleshooter and check if it helps.
- Press the Windows key + X key and select settings
- Go to Network & Internet then click on Network troubleshooter
- This will start detect problems with the network or wifi adapter and if found any troubleshooter try to fix them as well.
- Restart windows after complete the troubleshooting process. Check the problem is fixed.
Check NIC set to obtain IP address automatically
- Press Windows + R, type ncpa.cpl and ok
- Right-click on the active network adapter, select properties,
- Double click on Internet Protocol Version 4 (TCP/IPv4) to get its properties
- Here Click Obtain an IP address automatically and Obtain DNS server address automatically.
- Click apply and ok to validate changes, now check the problem is resolved.

Reset TCP/IP configuration
If the issue still persists, run the below commands to reset TCP/IP configuration to its default setup and flush DNS cache. That most probably fix the problem for you.
Type cmd on start menu search, Right click on command prompt select run as administrator.
To reset TCP/IP configuration and flush DNS cache perform command below one by one and press enter key after each.
- netsh winsock reset
- netsh int ip reset c:\resetlog.txt
- ipconfig /release
- ipconfig /flushdns
- ipconfig /renew

Close command prompt, and restart windows to take effect the changes. Now check the problem has been resolved or not.
Update Network adaptor
Still, need help? let’s update the network adaptor driver and check if this helps.
Follow the steps provided below to update the drivers.
- Press Windows key + R, type devmgmt.msc and press Enter.
- In device manager go to Network adaptor.
- Right-click and click on Update driver software.
- Select option Search automatically for driver software, and let windows download and install the latest NIC driver software.
- Restart windows and check if there is no more problem with the network and internet connection.

Reinstall network adaptor
If the update network adapter didn’t fix the problem, then try reinstall or install network driver computability mode.
- Press Windows Key + R and type “devmgmt.msc” to open the device manager.
- Expand the Network adapter and right-click on Network Adapter for which you’re facing the issue and click Uninstall.
- If asked for confirmation click OK.
- Restart windows to completely remove the old network adapter,
- Again open device manager, click Action then Scan for hardware changes.
- This will automatically install the network adapter for you.

You may also download the latest network adaptor drivers from the manufacturer’s website.
- Right-click on the driver setup file and click on ‘Properties’.
- Click on the ‘Compatibility’ tab
- check the box ‘Run this program in compatibility mode for’ and select Windows 8/8.1 or 7 operating system from the drop down menu and proceed with the installation.
- Follow on-screen instructions to install the driver software on your PC
- Once this is done, restart the computer and check if the issue persists.
Did these solutions help to fix “Unidentified Network” or ethernet doesn’t have a valid IP configuration in Windows 10, 8.1 and 7? Let us know on the comments below,
Sponsored:
Get uninterrupted and unlimited remote access to your Windows apps on your preferred device from anywhere, anytime on the go with Cloud Citrix VDI. Learn more about Hosted SharePoint, Enterprise E1 suite and QuickBooks Hosting by visiting Apps4Rent.